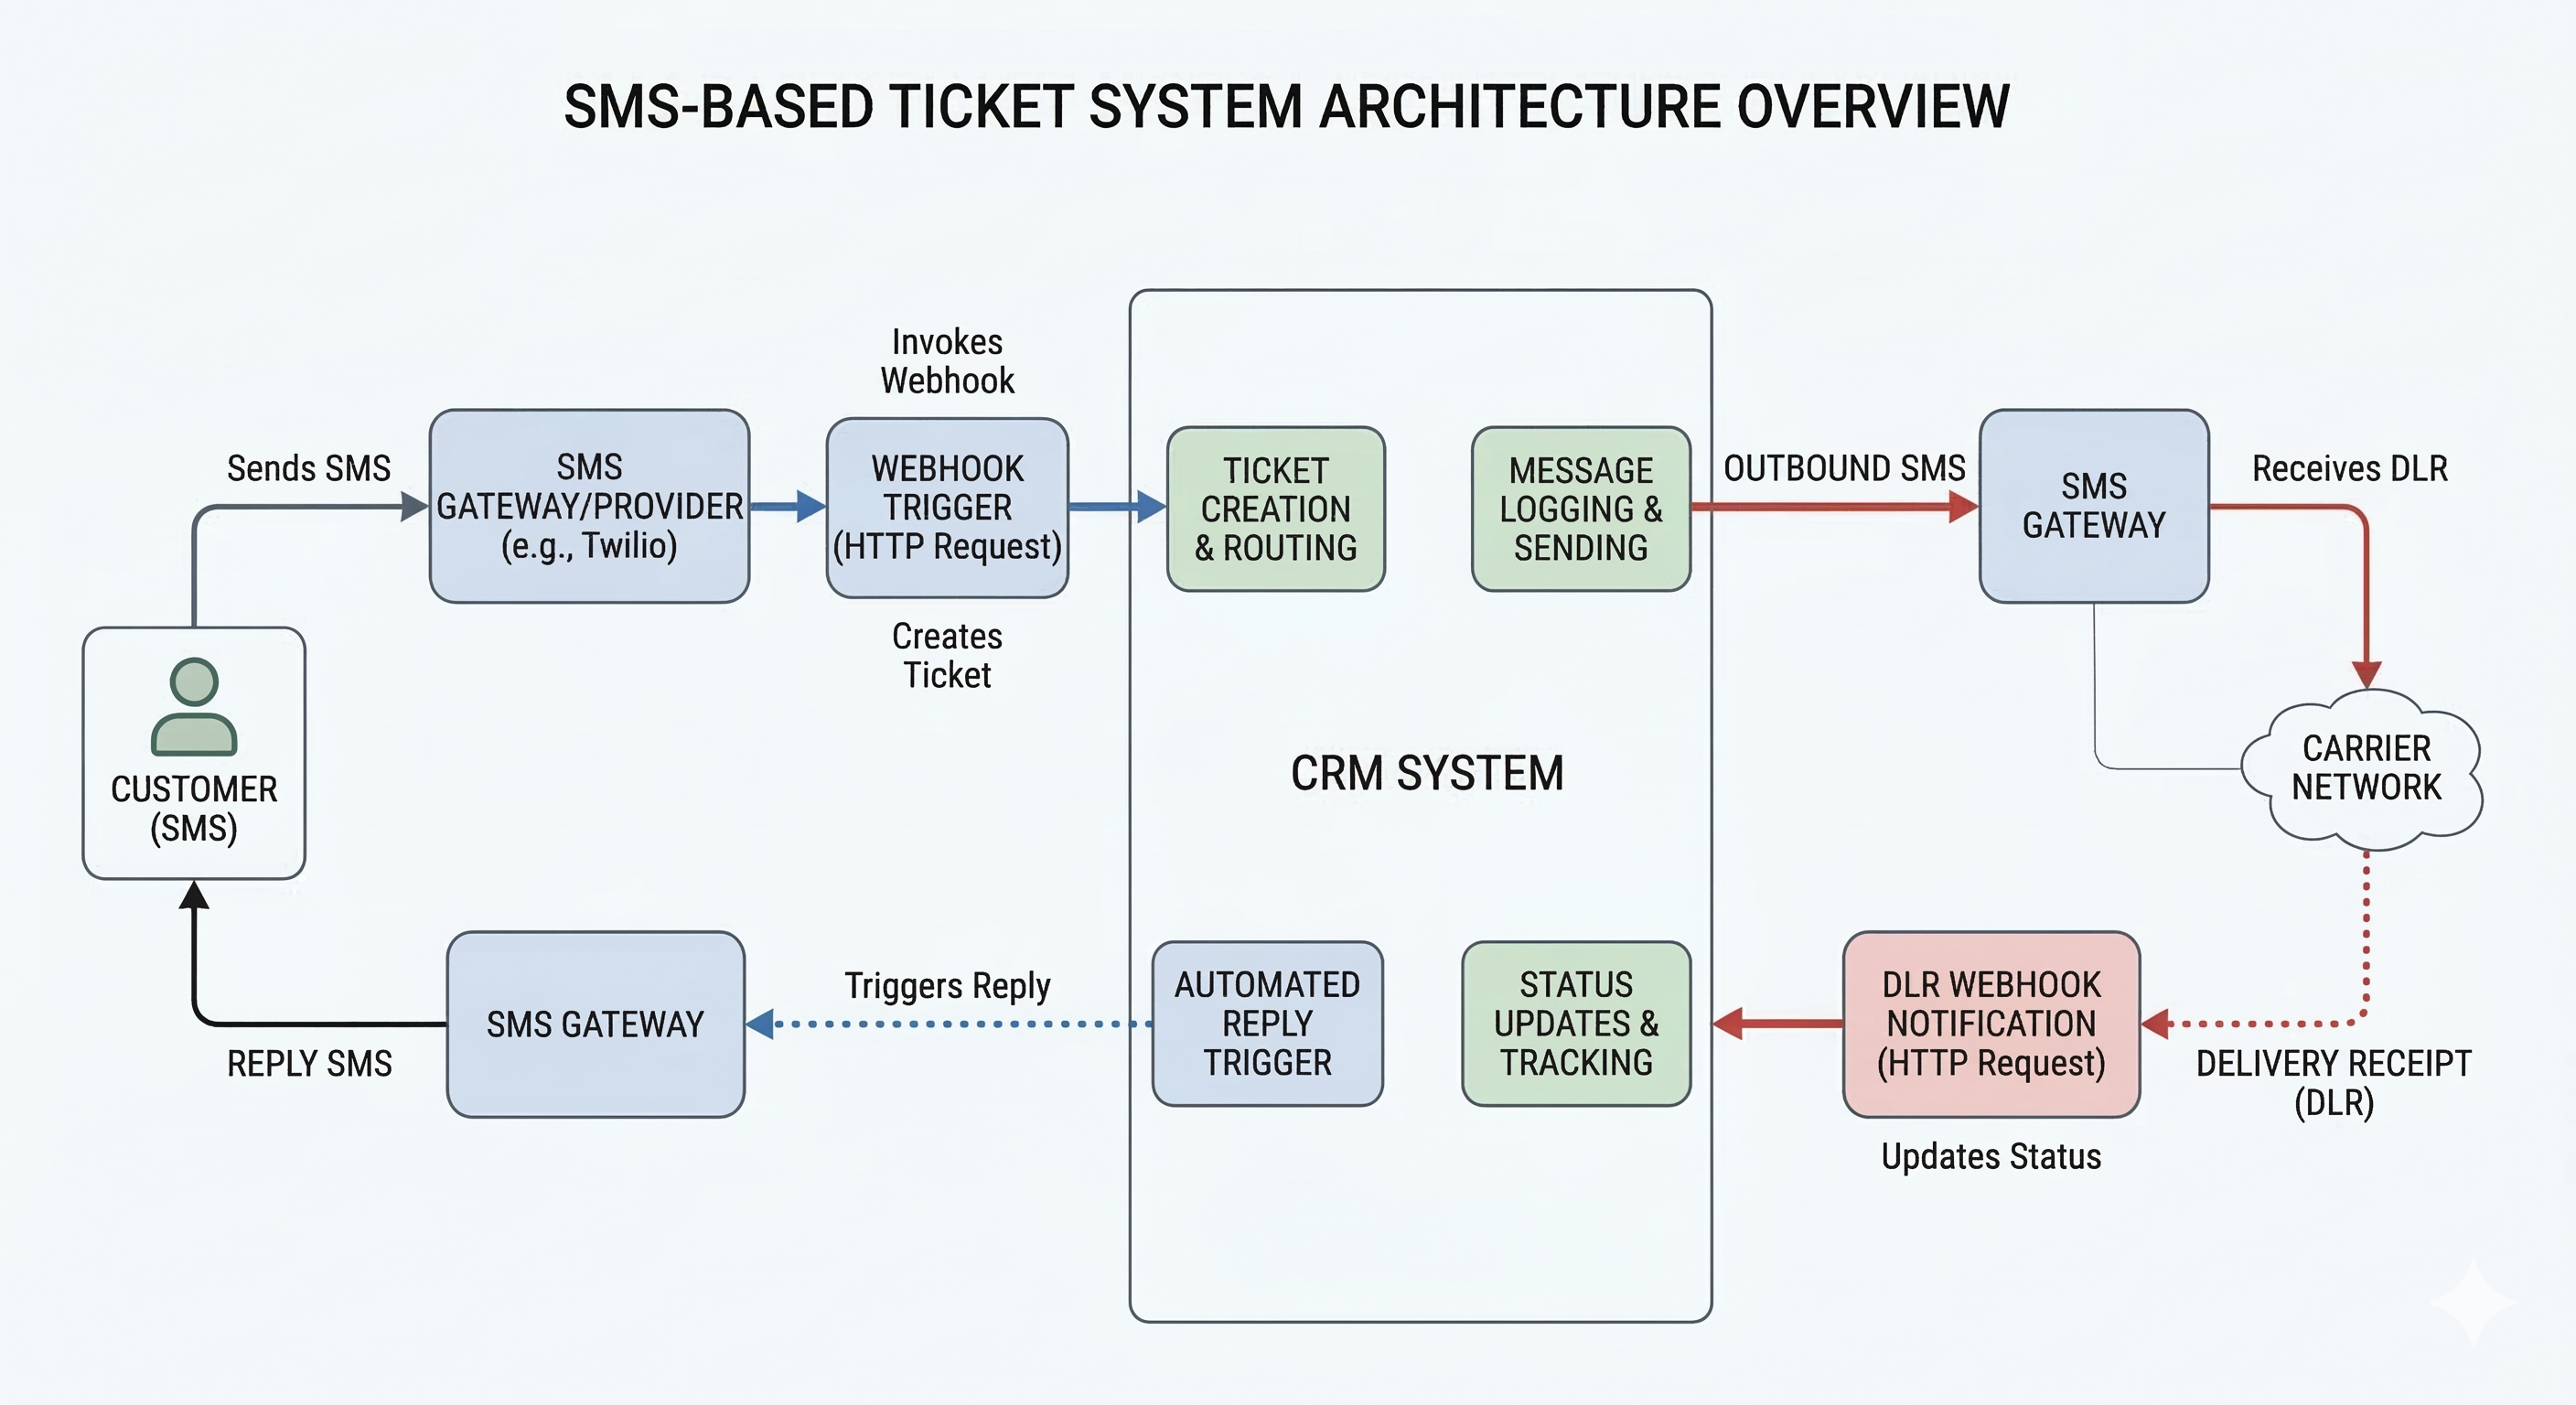
Building Two-Way SMS Automation Using the Sinch Connector in Power Automate
Two-way SMS is one of the fastest ways to reduce support friction: customers text you, your systems react instantly, and you can still track delivery outcomes for compliance and troubleshooting.
This post walks through a practical automation using recent Sinch SMS Connector updates:
- Trigger: When receiving a delivery receipt
- Action: Get message status
- Trigger: Receive SMS (for inbound messages)
We’ll build two flows (Power Automate supports one trigger per flow):
- Inbound SMS → Create CRM Ticket → Auto-reply
- Delivery Receipt → Get Message Status → Update CRM Ticket
What you’ll build (high level)
Customer sends SMS → Power Automate receives inbound message → Flow creates ticket in CRM → Flow sends automated reply → Delivery receipt updates ticket
Prerequisites
- A Sinch account with an SMS-enabled number (or short code/long code depending on region)
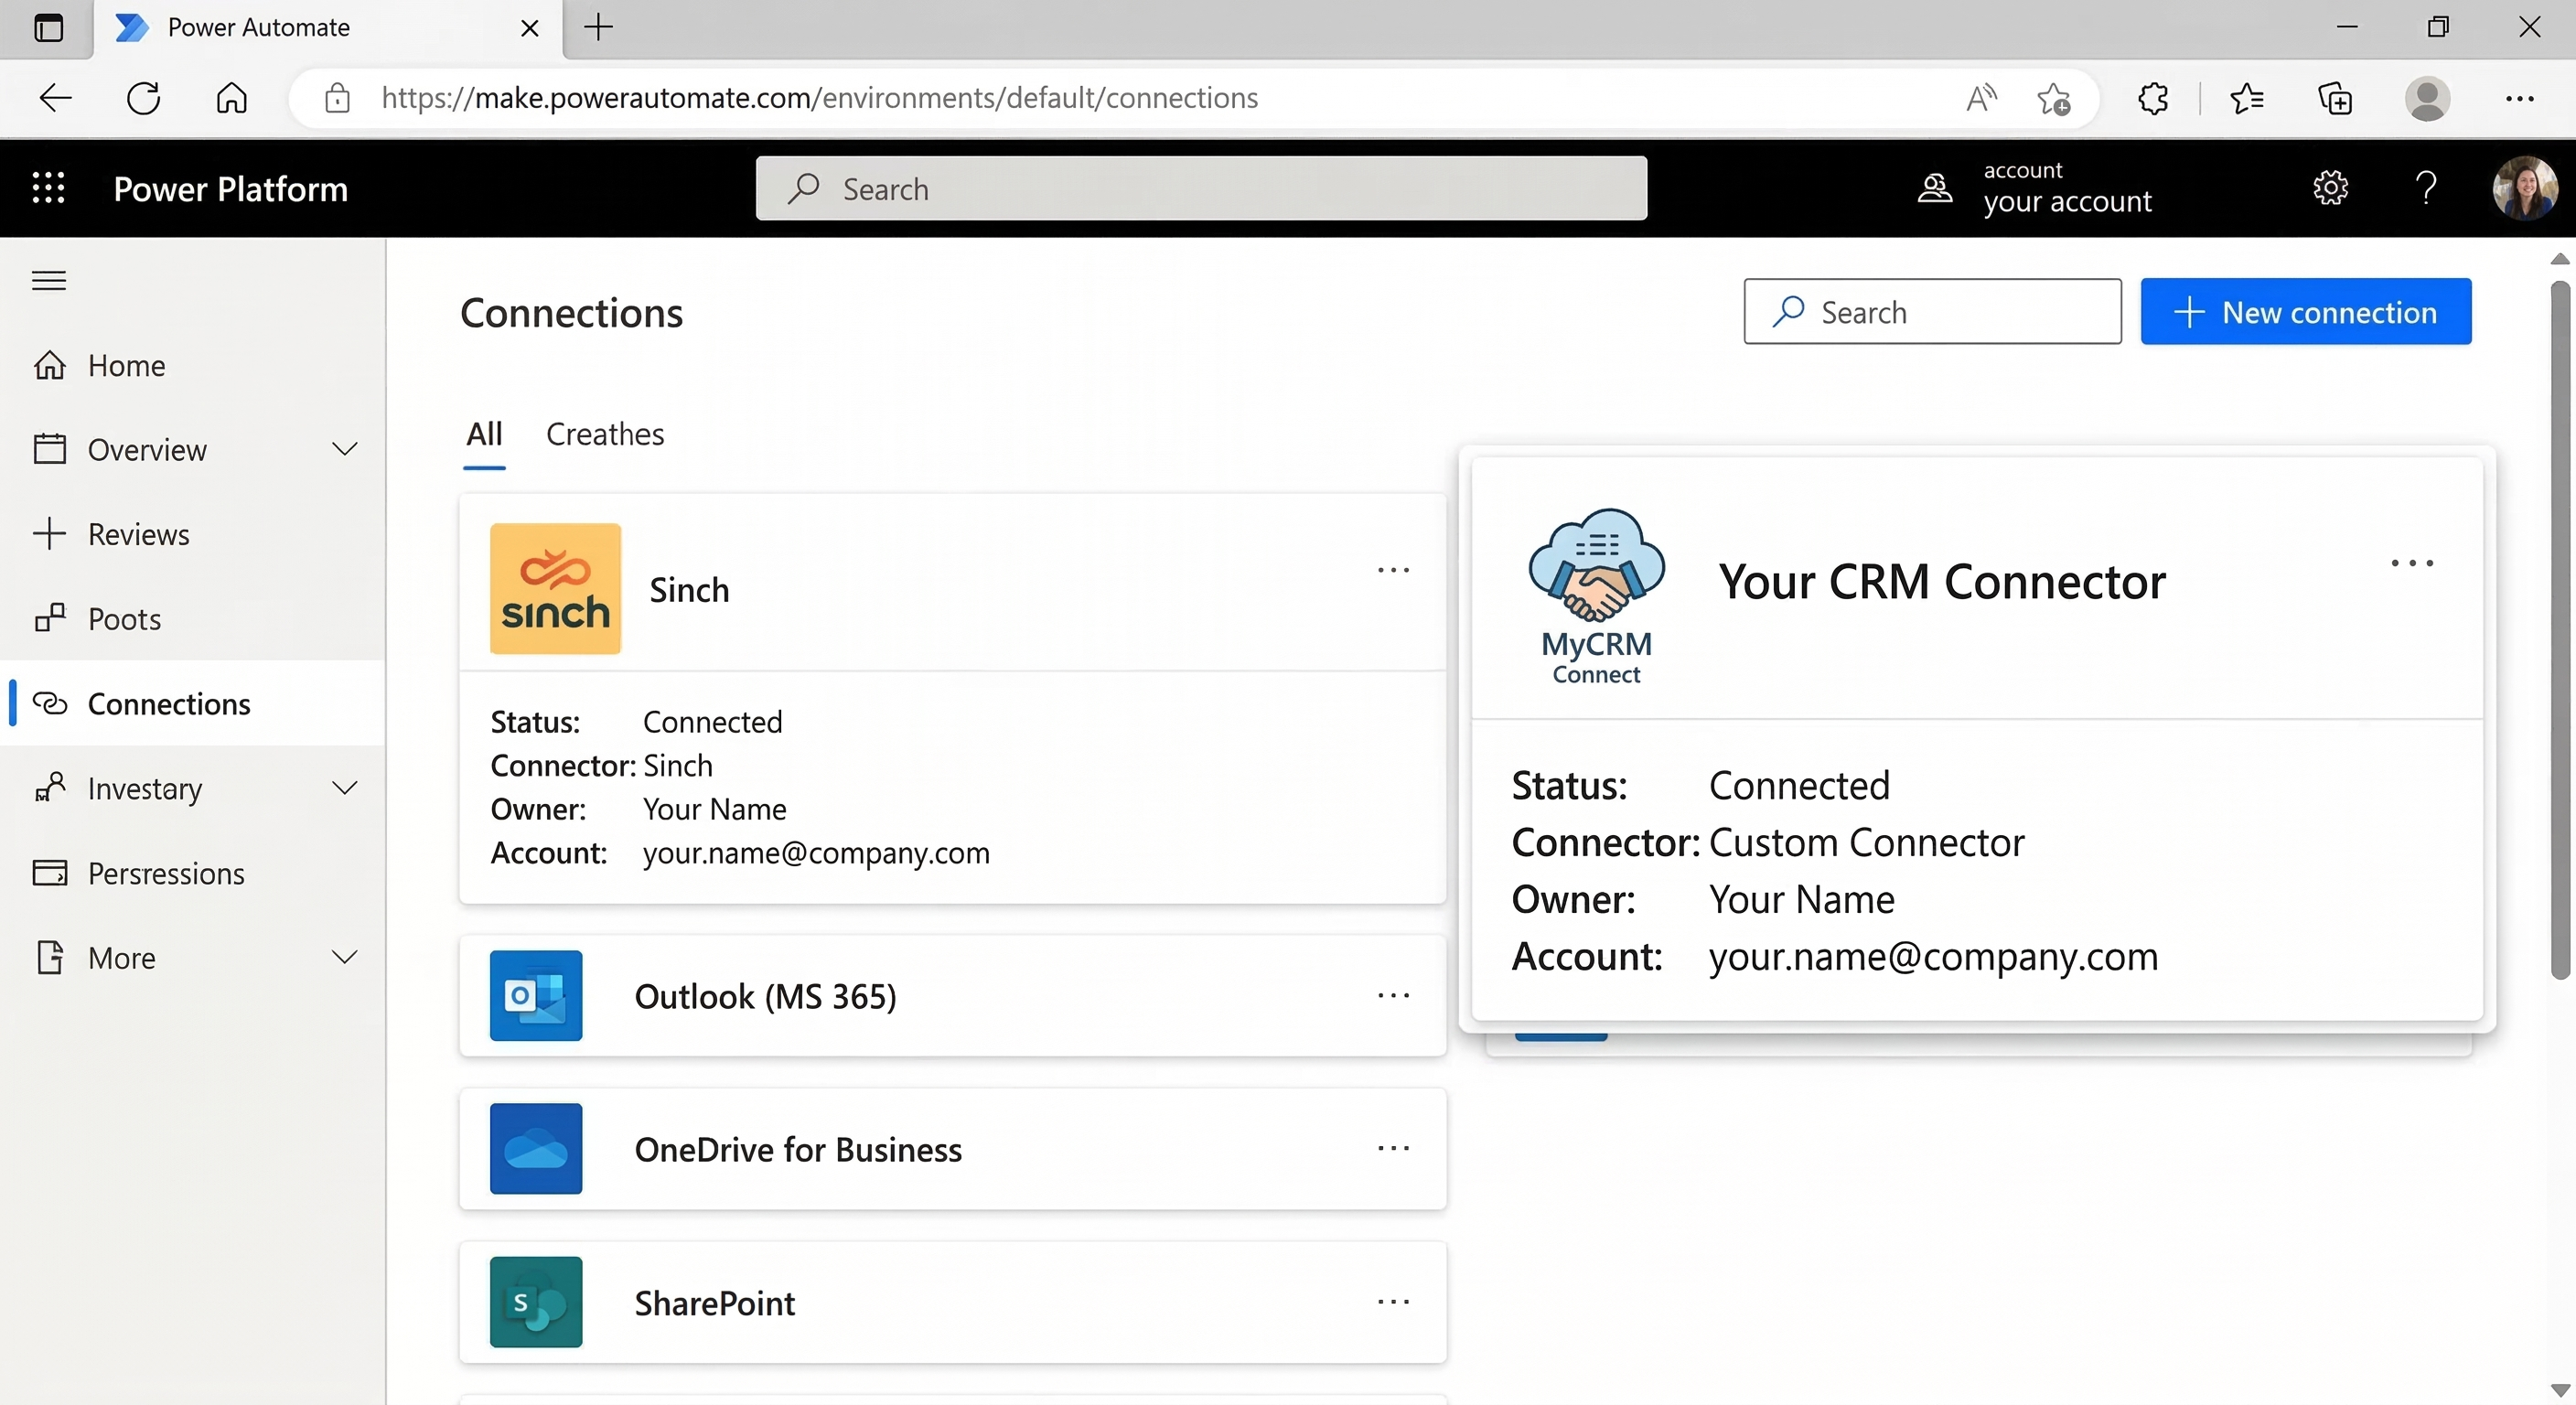
- Access to Power Automate
- A CRM or ticketing system (examples: Dynamics 365, Zendesk, Salesforce, HubSpot)
If you don’t have one, you can use Dataverse, SharePoint list, or a simple Excel table as a “ticket store.”
Flow 1: Inbound SMS → Create Ticket → Auto-Reply
Step 1 — Create a new cloud flow with the Receive SMS trigger
- Go to Power Automate → Create
- Choose Automated cloud flow
- Name it:
Inbound SMS → Create Ticket → Reply - Select trigger: Sinch SMS — Receive SMS (wording may appear as “When an SMS is received” / “Receive SMS”)
Step 2 — Configure trigger details (phone number, endpoint, keywords if applicable)
In the trigger, configure:
- The Sinch number (or service configuration) you want to receive messages on
- Any filtering options available (keywords, sender, etc.)
Typical fields you’ll see from inbound SMS:
From(sender phone)To(your Sinch number)Body(message text)MessageId/InboundMessageId(varies by connector)
Step 3 — Create a ticket in your CRM
Add a CRM action such as:
- Create record
- Create ticket
- Create case
- Create issue
Map fields like:
- Title/Subject:
SMS from {From} - Description:
Body - Contact/Phone:
From - Channel:
SMS - External Message ID: store the inbound ID if available
Step 4 — Send an automated SMS reply via Sinch
Add the Sinch action: Send SMS (or equivalent).
Suggested reply template:
“Thanks! We’ve received your message and created ticket #{TicketNumber}. Reply with more details anytime.”
If your CRM returns a ticket ID/number, insert it into the SMS body.
Step 5 — Store correlation data (recommended)
To make delivery receipts easy to match back to tickets, store:
- The outbound SMS Message ID returned by Sinch (from the Send SMS step)
- The CRM Ticket ID
Where to store it:
- In the CRM ticket itself (custom fields), or
- In a small table (Dataverse/SharePoint) keyed by
OutboundMessageId
Step 6 — Test Flow 1 end-to-end
- Save the flow
- Text your Sinch number from your phone
- Confirm:
- A ticket is created
- You receive the auto-reply
Flow 2: Delivery Receipt → Get Message Status → Update Ticket
Delivery receipts (DLRs) let you answer: “Did the SMS actually deliver? When? Why not?”
Step 1 — Create a new cloud flow with When receiving a delivery receipt
- Create → Automated cloud flow
- Name it:
Delivery Receipt → Update Ticket - Trigger: Sinch SMS — When receiving a delivery receipt
Step 2 — Parse the delivery receipt (Message ID, status, timestamp)
The delivery receipt typically includes:
MessageId(links to your outbound message)Status(delivered/failed/queued/etc.)StatusDetailor error codes (when failed)- Timestamps
Step 3 — Add action: Get message status
Add the Sinch action Get message status and pass the MessageId from the delivery receipt.
Why this helps:
- Delivery receipts can be brief; Get message status can provide richer or latest state details (depending on region/product configuration).
Step 4 — Find the related CRM ticket (using stored OutboundMessageId)
You now need to map MessageId → Ticket.
Common approach:
- Search CRM records where
OutboundMessageId == MessageId - Or look up in your correlation table (Dataverse/SharePoint)
Then update the ticket:
- SMS Delivery Status = delivered/failed
- Delivered At = timestamp
- Failure Reason (if any)
Step 5 — Add optional notifications (Teams/Email) for failures
For example, if status is failed, notify a support channel:
- Post a message in Teams:
“SMS delivery failed for ticket #123. Reason: {StatusDetail}”
Step 6 — Test Flow 2
- Send a new inbound SMS (Flow 1 will reply)
- Wait for the delivery receipt to trigger Flow 2
- Confirm the CRM ticket is updated with delivery status
Example automation (as described)
- Customer sends SMS
- Flow creates ticket in CRM
- Sends automated reply
- Delivery receipt updates ticket status (delivered/failed)
Tips, gotchas, and best practices
- Use correlation IDs: Always store the outbound
MessageIdon the ticket so delivery receipts can update the right record. - Handle duplicates: Some systems can emit multiple receipt updates (e.g., queued → sent → delivered). Update the ticket with the latest status + timestamps.
- Normalize phone numbers: Store
Fromin E.164 format if possible to avoid mismatches. - Rate limits and retries: If your CRM throttles, add retry policy and/or queue updates in Dataverse.
Conclusion
With the Receive SMS trigger, When receiving a delivery receipt trigger, and Get message status action, you can build a robust two-way SMS support channel in Power Automate—fully automated, trackable, and easy to extend.